Posted in : NetScaler Av Simon Gottschlag Översätt med Google ⟶
9 years ago
There are a lot of different tools out there to gather and present information about systems. I’ve been looking for something that’s easy to setup and free.
In this case, I wanted to present some metrics from NetScaler in nice graphs. I’m using three open source tools working together to make this possible:
- collectd – Probe using SNMP and store the data in a database
- InfluxDB – Database where the SNMP data is stored
- Grafana – Connects to InfluxDB and creates nice graphs
I’m not going to do a deep-dive into how everything works, since there are a lot of better posts out there regarding that. I’m going to show a few steps how I installed and configured it on CentOS 7 and how I configured it to gather data from NetScaler.
Step 1, install the tools:
yum install epel-release
yum install collectd collectd-snmp
vim /etc/yum.repos.d/influxdb.repo
--
[influxdb]
name = InfluxDB Repository - RHEL \$releasever
baseurl = https://repos.influxdata.com/rhel/\$releasever/\$basearch/stable
enabled = 1
gpgcheck = 1
gpgkey = https://repos.influxdata.com/influxdb.key
--
yum install influxdb
vim /etc/yum.repos.d/grafana.repo
--
[grafana]
name=grafana
baseurl=https://packagecloud.io/grafana/stable/el/6/$basearch
repo_gpgcheck=1
enabled=1
gpgcheck=1
gpgkey=https://packagecloud.io/gpg.key https://grafanarel.s3.amazonaws.com/RPM-GPG-KEY-grafana
sslverify=1
sslcacert=/etc/pki/tls/certs/ca-bundle.crt
--
yum install grafana
I’ll skip the collectd configuration until the end, since that’s where we define what we want to probe on the NetScaler. Step 2, configure InfluxDB:
mv /var/lib/influxdb /data/influxdb
cp /etc/influxdb/influxdb.conf /etc/influxdb/influxdb.conf_bak
vim /etc/influxdb/influxdb.conf
--
reporting-disabled = true
[meta]
  dir = "/data/influxdb/meta"
[data]
  dir = "/data/influxdb/data"
  wal-dir = "/data/influxdb/wal"
[[collectd]]
  enabled = true
  bind-address = "127.0.0.1:25826"
  database = "collectd"
  typesdb = "/usr/share/collectd/types.db"
--
systemctl start influxdb
systemctl enable influxdb
influx
create database collectd
quit
Next, configure Grafana:
vim /etc/grafana/grafana.ini
--
[…]
[server]
protocol = http
http_addr = 127.0.0.1
http_port = 3000
root_url = https://<FQDN>
[…]
[analytics]
reporting_enabled = false
[…]
--
systemctl start grafana-server
systemctl enable grafana-server
I’m using nginx as reverse proxy locally on the server, not going into details about it but the configuration looks like this:
vim /etc/nginx/conf.d/grafana.conf
--
server {
    listen 80;
    server_name <FQDN>;
    return 301 https://$host$request_uri;
}
server {
    listen 443;
    server_name <FQDN>;
    location / {
      proxy_set_header        Host $http_host;
      proxy_set_header        X-Real-IP $remote_addr;
      proxy_set_header        X-Forwarded-For $proxy_add_x_forwarded_for;
      proxy_set_header        X-Forwarded-Proto https;
      proxy_pass              http://127.0.0.1:3000;
      proxy_read_timeout      90;
      proxy_redirect          off;
      proxy_buffering         off;
    }
}
--
Now for the fun, and maybe a little harder, part. Collectd! We need to define how we will be collecting the information from NetScaler, in my case this means editing /usr/share/collectd/types.db and creating ”types” that we can use with the SNMP plugin:
vim /usr/share/collectd/types.db
--
[..]
#
# Custom Netscaler
#
ns_sys NShttpTotRequests:COUNTER:0:18446744073709551615, NSresCpuUsage:GAUGE:0:U, NSresMemUsage:GAUGE:0:U, NStcpSurgeQueueLen:GAUGE:0:U, NStcpCurServerConnEstablished:GAUGE:0:U, NStcpCurClientConnEstablished:GAUGE:0:U
ns_vsvr vsvrCurClntConnections:GAUGE:0:U, vsvrCurSrvrConnections:GAUGE:0:U, vsvrEstablishedConn:GAUGE:0:U, vsvrSurgeCount:GAUGE:0:U, vsvrRxBytesRate:GAUGE:0:U, vsvrTxBytesRate:GAUGE:0:U, vsvrRequestRate:GAUGE:0:U
--
I’ve only created two examples, one for NetScaler system (ns_sys) and one for virtual servers (ns_vsvr). It’s important that the order here is matched with the order they are configured in collectd.
Now for the last configuration to get collectd up and running:
cp /etc/collectd.conf /etc/collectd.conf_bak
vim /etc/collectd.conf
--
Hostname    "<Hostname>"
FQDNLookup   true
BaseDir     "/var/lib/collectd"
PIDFile     "/var/run/collectd.pid"
PluginDir   "/usr/lib64/collectd"
TypesDB     "/usr/share/collectd/types.db"
AutoLoadPlugin false
CollectInternalStats false
LoadPlugin network
LoadPlugin snmp
<Plugin network>
        Server "127.0.0.1" "25826"
</Plugin>
<Plugin snmp>
   <Data "ns_sys">
       Type "ns_sys"
       Table false
       Values "NS-ROOT-MIB::httpTotRequests.0" "NS-ROOT-MIB::resCpuUsage.0" "NS-ROOT-MIB::resMemUsage.0" "NS-ROOT-MIB::tcpSurgeQueueLen.0" "NS-ROOT-MIB::tcpCurServerConnEstablished.0" "NS-ROOT-MIB::tcpCurClientConnEstablished.0"
   </Data>
   <Data "ns_vsvr">
       Type "ns_vsvr"
       Table true
       Instance "NS-ROOT-MIB::vsvrName"
       Values "NS-ROOT-MIB::vsvrCurClntConnections" "NS-ROOT-MIB::vsvrCurSrvrConnections" "NS-ROOT-MIB::vsvrEstablishedConn" "NS-ROOT-MIB::vsvrSurgeCount" "NS-ROOT-MIB::vsvrRxBytesRate" "NS-ROOT-MIB::vsvrTxBytesRate" "NS-ROOT-MIB::vsvrRequestRate"
   </Data>
   <Host "<NetScaler FQDN>">
       Address "<NetScaler IP>"
       Version 2
       Community "<NetScaler Community>"
       Collect "ns_sys" "ns_vsvr"
       Interval 10
   </Host>
</Plugin>
Include "/etc/collectd.d"
--
systemctl start collectd
systemctl enable collectd
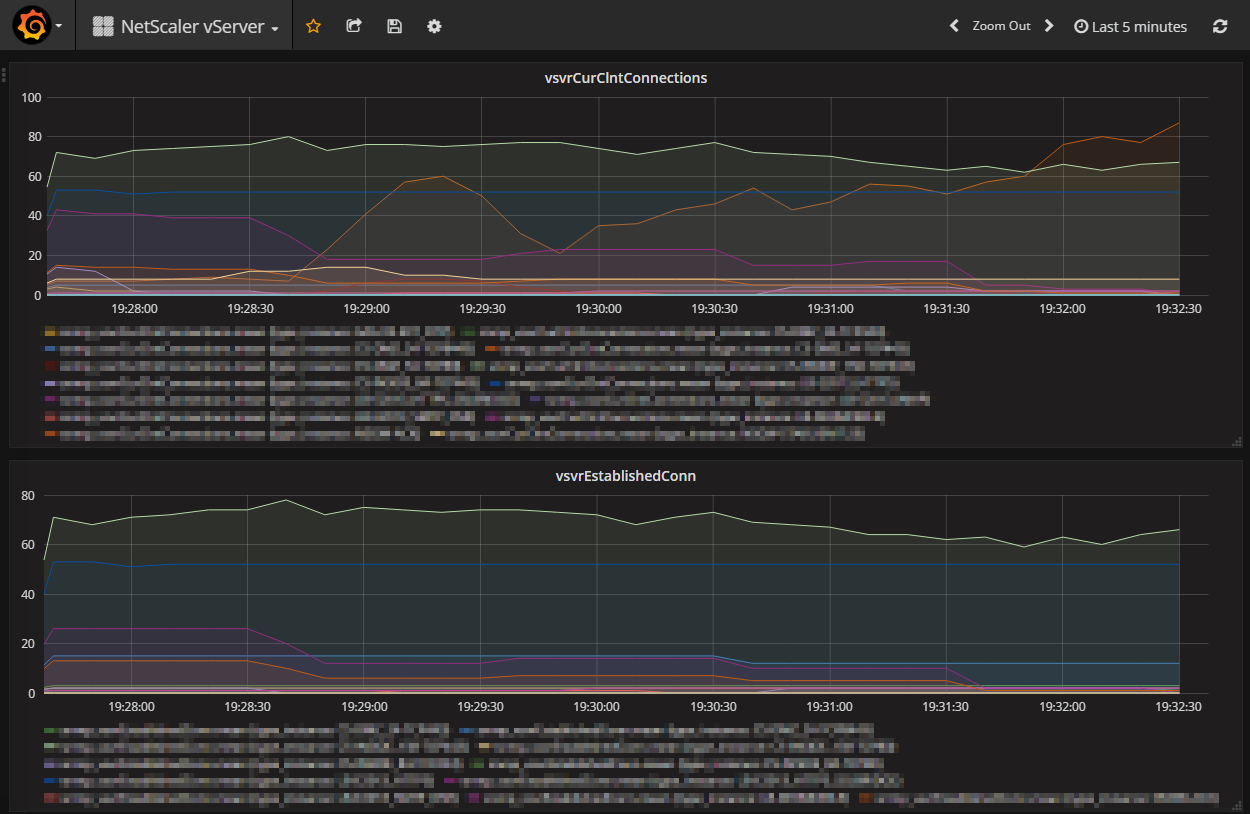
Now you just need to logon to Grafana and starta graphing the results. I’ve created two examples (ONLY examples, they need some tweaking to show the exact results):
You can find two json-files here (rename them from .txt to .json and import to Grafana):
https://xenit.com/app/uploads/NetScaler-System.txt
https://xenit.com/app/uploads/NetScaler-vServer.txt
Examples of how they look:

I hope this can help someone and feel free to leave a comment if you’ve found any issues or have better ways of doing this! Or just have questions.
Personlig rådgivning
Vi erbjuder personlig rådgivning med författaren för 1400 SEK per timme. Anmäl ditt intresse i här så återkommer vi så snart vi kan.

Add comment